About a month ago Zayn ZR3VO of Orania decided to put his SHARI HAT together for the Raspberry Pi. Now what is the SHARI PI HAT?
A "Shari PiHat" is a small, self-contained radio interface
board designed for amateur radio enthusiasts.
The SHARI PiHat, developed by folks like N8AR (a known name in the ham community), is a plug-and-play solution for turning a Raspberry Pi into an Allstar node. Allstar, short for Allstar Link, is a VoIP system that connects amateur radio operators worldwide using software like Asterisk. The SHARI PiHat uses the SA818 radio module—a low-cost, embedded VHF/UHF transceiver—combined with a custom circuit board that fits onto the Raspberry Pi’s GPIO pins (hence "PiHat").
Here’s a quick rundown:
Versions: You can get it in VHF (144-148 MHz) or UHF (420-450 MHz), depending on your radio band preference.
Setup: Mount it on a Raspberry Pi, connect an antenna (it often comes with a basic one), plug in a USB cable for audio and power, and load software like HamVoIP (a popular Allstar image for Raspberry Pi).
Function: Once configured, it acts as a simplex node—transmitting and receiving on a single frequency—letting you connect to other nodes or repeaters on the Allstar network.
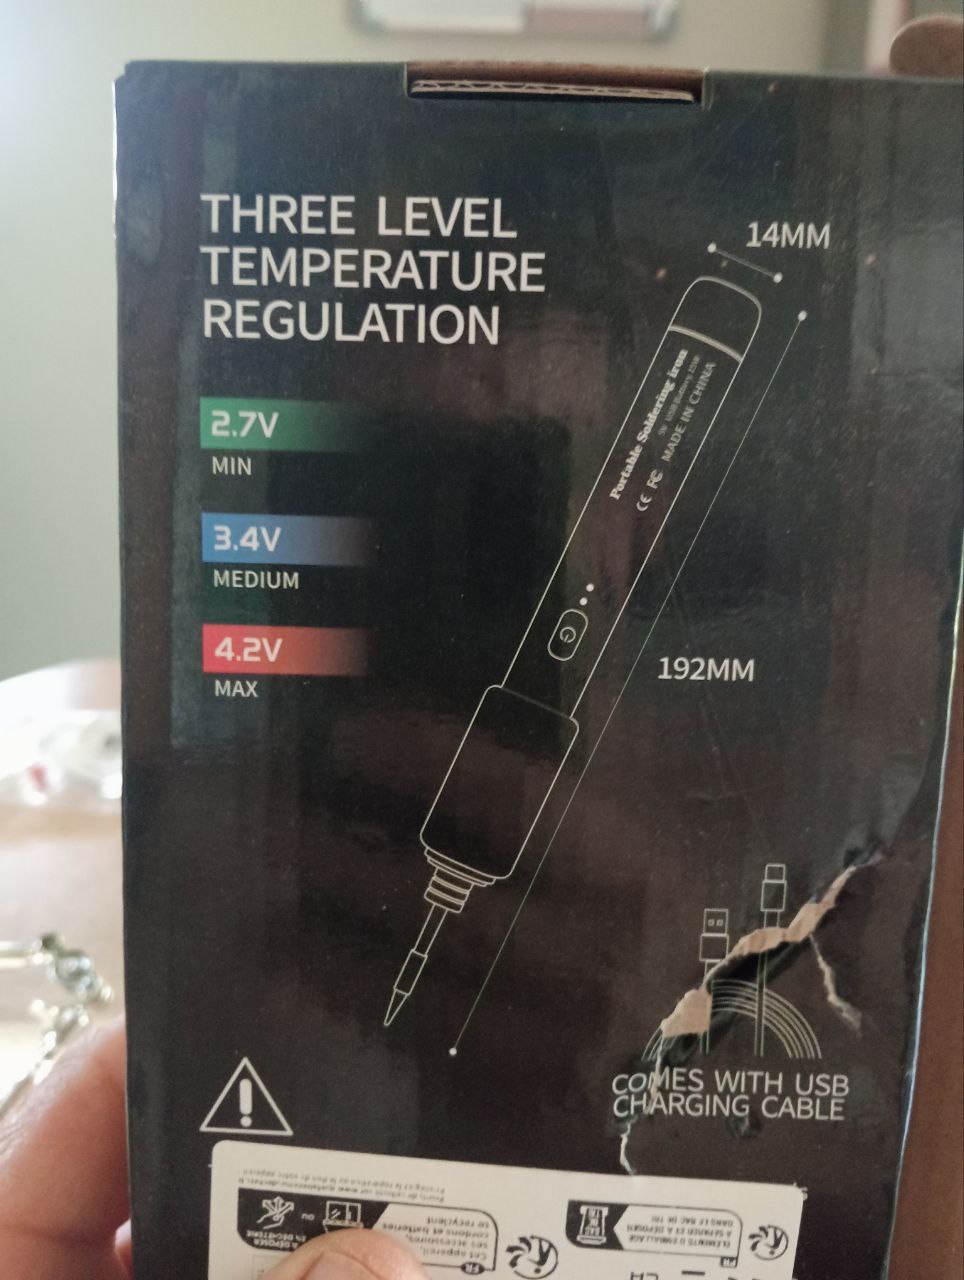
Power: It’s low-power (around 1 watt), so it’s best for local use or as a hotspot with limited range unless paired with an amplifier.
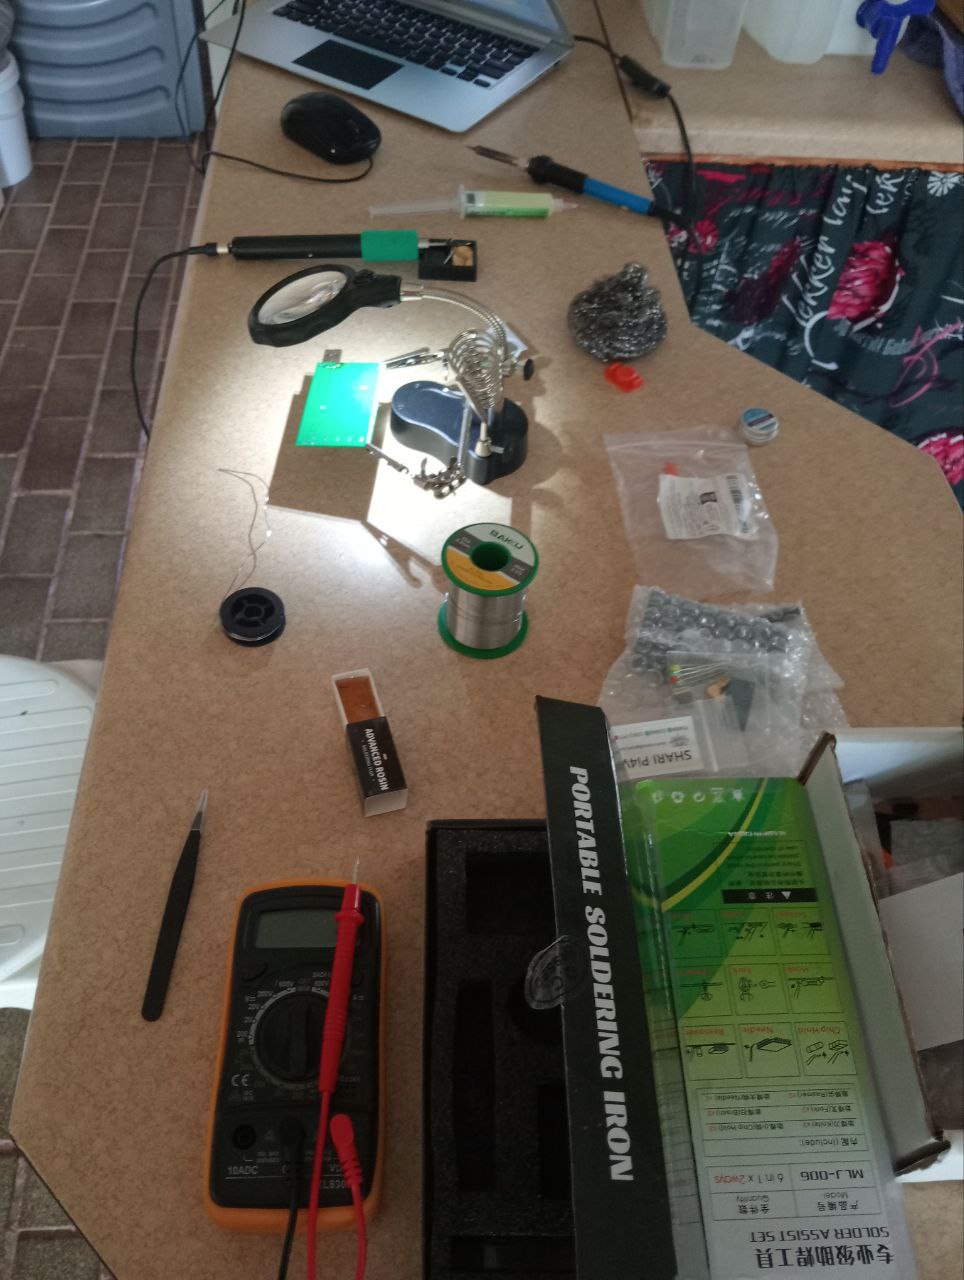
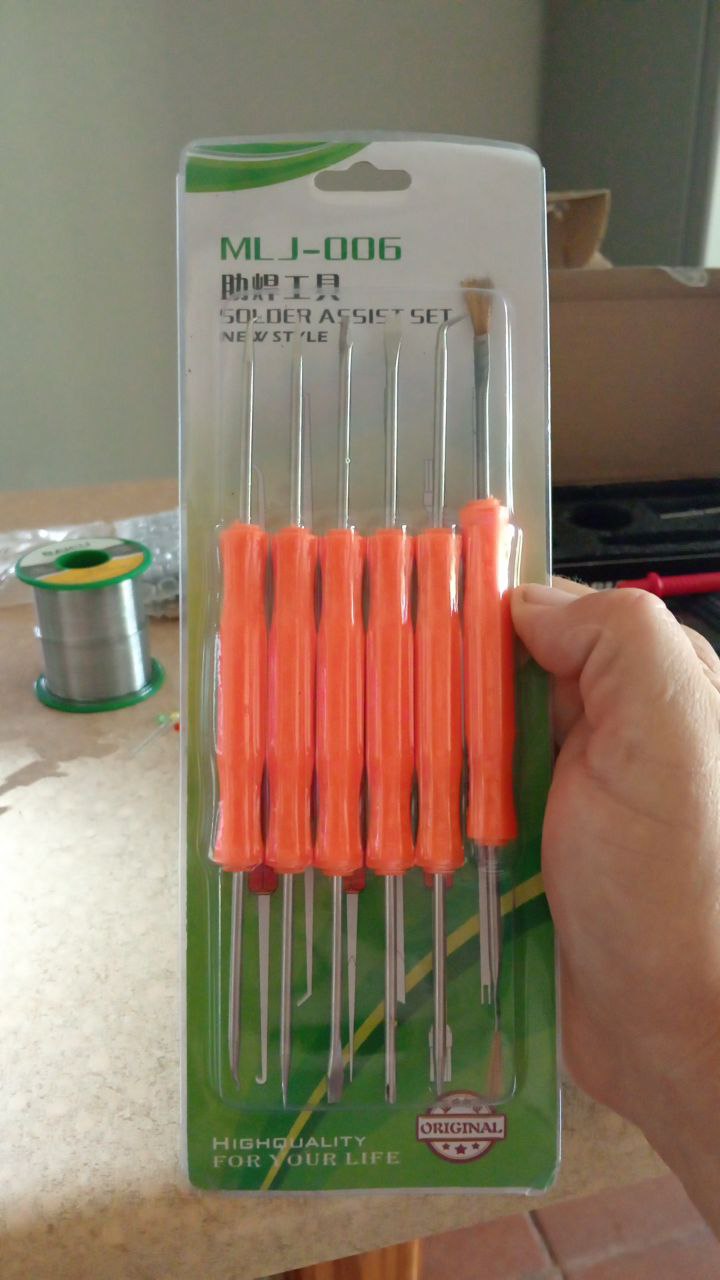
Construction: Often sold as a kit, requiring some basic electronics assembly to solder components onto a printed circuit board.
Allstar Network: To function, the Raspberry Pi needs to
be loaded with Allstar software, which enables communication with
other Allstar nodes on the network.
Radio Amateurs use it for things like portable radio nodes, emergency communications, or just experimenting with digital ham radio. It’s DIY-friendly but requires some basic config—like setting your call sign and node number in the software.
I am not going to go into detail about the construction here as the images and video is self explanatory and you can find the complete construction manual by clicking HERE.
Images: (Click on images for larger view.)